Lower back pain affects up to 80% of adults at some point in their lives, often caused by muscle weakness, poor posture, or injury. Physiotherapy exercises can restore strength, flexibility, and stability to the lumbar region, reducing discomfort and preventing recurrences. This guide provides in‑depth instructions for thirteen exercises you can safely perform at home. Each section explains exactly which muscles are engaged, how to perform the movement, common errors to avoid, and ways to progress as you get stronger. Always check with your healthcare provider before beginning any new exercise program.
Below are all 13 exercises formatted with the requested headings. Each section includes an in‑depth explanation, clear instructions, muscle focus, useful variations, and common errors to avoid.
13 Best Physiotherapy Exercise for Lower Back Pain
1. Pelvic Tilts
Overview & Benefits Pelvic tilts target the deep abdominal muscles (transversus abdominis) and the lumbar multifidus, which support spinal alignment. By gently moving the pelvis, you retrain these core stabilizers to hold the spine in a neutral position, easing pressure on lumbar discs.
Step‑by‑Step Instructions
Starting Position: Lie on your back with knees bent at 90°, feet flat and hip‑width apart. Arms rest comfortably by your sides.
Activation: Inhale to prepare. Exhale and draw your belly button in toward the spine, flattening your lower back against the floor.
Hold: Maintain the tilt for 5–8 seconds, breathing gently. Your pelvis should rock only slightly—avoid arching your upper back.
Release: Inhale and relax your core, allowing the lower back to return to its natural curve.
Repetitions: Perform 10–15 tilts, resting as needed.
Muscles Worked
Transversus abdominis
Multifidus
Pelvic floor
Variations
Heel Squeeze: Place a small ball between your knees. As you tilt, gently squeeze to engage inner thigh muscles.
Seated Pelvic Tilt: Perform the same movement while seated on a firm chair for beginners with limited mobility.
Common Mistakes
Over‑Arching: Lifting the buttocks too high strains the hip flexors.
Holding Breath: Inhale and exhale smoothly to maintain muscle engagement without tension.
2. Cat–Camel Stretch
Overview & Benefits This dynamic movement improves flexibility in the entire spine, mobilizes facet joints, and relieves tension in the erector spinae and paraspinal muscles.
Step‑by‑Step Instructions
Starting Position: On hands and knees, align shoulders over wrists and hips over knees, keeping the neck neutral.
Cat Phase: Exhale and round your back up toward the ceiling, tucking your chin to your chest.
Camel Phase: Inhale and let your belly sink toward the floor, lifting your head and tailbone.
Rhythm: Move slowly between the two positions, holding each for 3–5 seconds.
Repetitions: Complete 10–12 full cycles.
Muscles Worked
Erector spinae
Latissimus dorsi
Abdominals (during cat)
Variations
Supported Camel: Place a folded towel under your hands to reduce wrist strain.
Standing Cat–Camel: Perform with hands on a wall for those with knee discomfort.
Common Mistakes
Neck Overextension: Keep the cervical spine in line; avoid collapsing the head backward.
Rapid Movement: Slow transitions ensure full joint mobilization without jolting.
3. Knee‑to‑Chest Stretch
Overview & Benefits This stretch gently lengthens the lumbar extensors (erector spinae) and gluteus maximus, relieving lower back tightness and improving hip mobility.
Step‑by‑Step Instructions
Starting Position: Lie on your back with both legs extended and arms at your sides.
Single Knee: Bend one knee and interlace your fingers just below the thigh.
Draw Up: Gently pull the knee toward your chest until you feel a comfortable stretch.
Hold: Maintain for 20–30 seconds, breathing steadily.
Repetitions: Release, switch legs, and repeat twice per side.
Muscles Worked
Erector spinae
Gluteus maximus
Hip external rotators
Variations
Double Knee‑to‑Chest: Bend both knees and hug them toward your chest for a deeper lower back stretch.
Crossed‑Leg Stretch: Place the right ankle over the left knee before pulling in for a piriformis-focused stretch.
Common Mistakes
Neck Tension: Keep your head and shoulders relaxed on the floor.
Forcing the Leg: Only pull to a comfortable range—never into sharp pain.
4. Bridge Exercise
Overview & Benefits Bridges strengthen the gluteus maximus, hamstrings, and deep spinal stabilizers, transferring load off the lumbar spine during activities like lifting and walking.
Step‑by‑Step Instructions
Starting Position: Lie on your back with knees bent, feet flat a few inches from your buttocks, and arms by your sides.
Lift Hips: Press through your heels and squeeze your glutes, lifting hips until your torso forms a straight line from shoulders to knees.
Hold: Maintain the top position for 5–10 seconds, focusing on muscle activation.
Lower Slowly: Gently lower hips back to the floor over 3 seconds.
Repetitions: Perform 10–12 bridges, resting as needed.
Muscles Worked
Gluteus maximus
Hamstrings
Erector spinae
Variations
Single‑Leg Bridge: Extend one leg straight while lifting hips, alternating sides.
Stability Ball Bridge: Place feet on a stability ball for added core challenge.
Common Mistakes
Arching Lower Back: Engage core to keep spine neutral.
Pushing Through Toes: Drive through the entire foot, focusing on the heels.
5. Lumbar Rotation Stretch
Overview & Benefits This stretch mobilizes the lumbar facet joints and lengthens obliques and paraspinal muscles, improving rotational flexibility and relieving tension.
Step‑by‑Step Instructions
Starting Position: Lie on your back with knees bent, feet flat, arms out in a “T.”
Rotate Hips: Keeping shoulders on the floor, slowly lower both knees to one side until you feel a stretch.
Hold: Maintain for 15–20 seconds, breathing evenly.
Switch: Return knees to center and repeat on the opposite side for three repetitions each.
Muscles Worked
Internal and external obliques
Quadratus lumborum
Multifidus
Variations
Pillow Support: Place a pillow under knees for a gentler option.
Seated Twist: Perform seated with legs bent, rotating torso.
Common Mistakes
Lifting Shoulders: Keep both shoulder blades on the floor.
Fast Movements: Slow rotations prevent muscle strain.
6. Child’s Pose
Overview & Benefits A foundational yoga pose that gently stretches the entire spine, hips, and shoulders while promoting relaxation and lengthening of lower back muscles.
Step‑by‑Step Instructions
Starting Position: Kneel with big toes touching and knees wide.
Fold Forward: Sit back on your heels and reach your arms forward, lowering your torso toward the floor.
Rest: Let your forehead touch the ground, breathing deeply for 30–60 seconds.
Release: Walk your hands back and sit up slowly.
Muscles Worked
Erector spinae
Latissimus dorsi
Gluteus maximus
Variations
Bolster Support: Place a bolster under your chest for comfort.
Arm Position: Keep arms at sides for a more passive stretch.
Common Mistakes
Neck Tension: Allow your head to hang heavy.
Hips Too High: Aim to sit back fully on your heels.
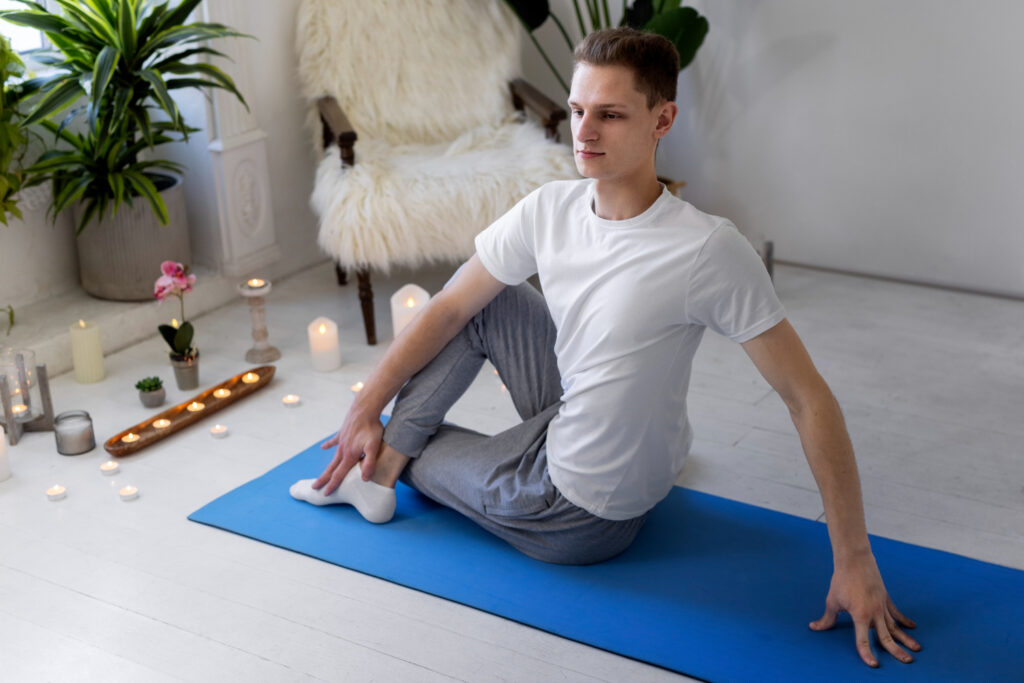
7. Piriformis Stretch
Overview & Benefits Relieves tightness in the piriformis muscle, which can compress the sciatic nerve, reducing lower back and buttock pain.
Step‑by‑Step Instructions
Starting Position: Lie on your back with knees bent.
Cross Ankle: Place your right ankle over your left thigh.
Pull In: Thread hands behind left thigh and gently pull it toward your chest.
Hold: Maintain 20–30 seconds, then switch sides.
Repetitions: Repeat twice per side.
Muscles Worked
Piriformis
Gluteus medius
Hip external rotators
Variations
Seated Option: Sit in a chair, crossing one ankle over opposite knee and leaning forward.
Standing Variation: Perform lying on side for a gentler stretch.
Common Mistakes
Knee Overpressure: Only pull to a point of mild tension.
Back Arching: Keep lower back relaxed on the floor.
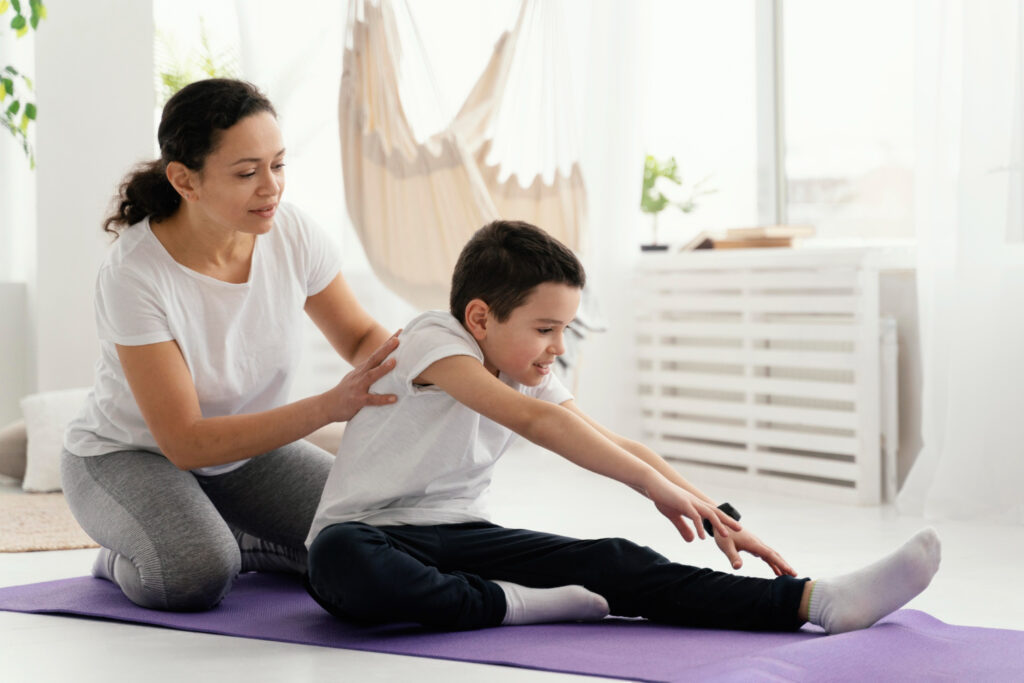
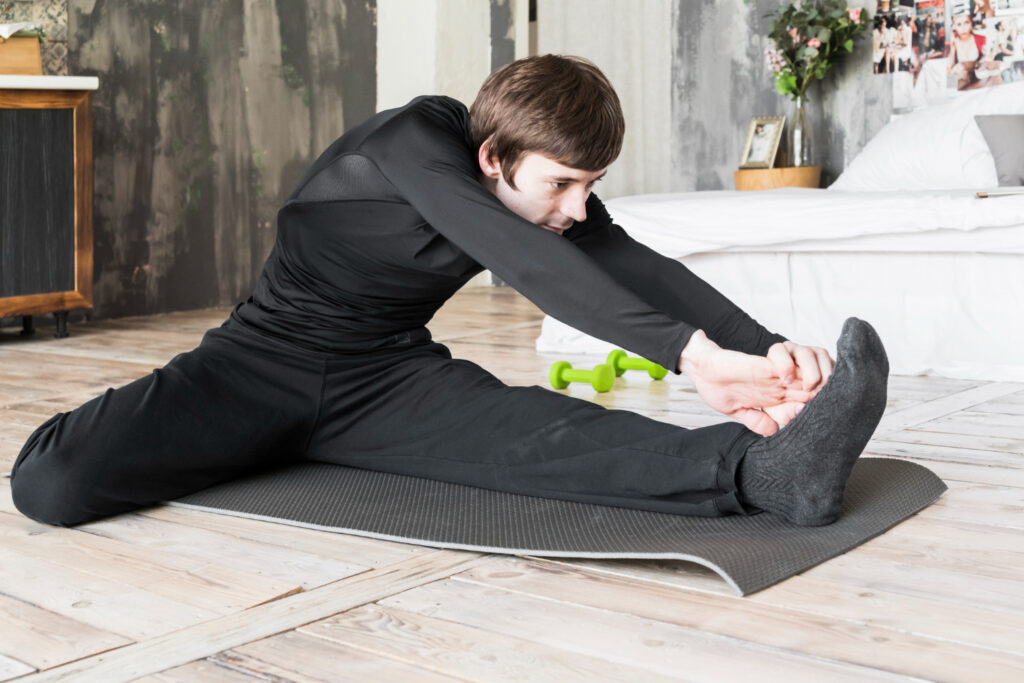
8. Supine Hamstring Stretch
Overview & Benefits Lengthens tight hamstrings, which pull on the pelvis and increase lumbar strain, improving lower back comfort and hip mobility.
Step‑by‑Step Instructions
Starting Position: Lie on your back with legs extended.
Loop Towel: Place a towel or strap around the ball of your right foot.
Lift Leg: Gently pull the right leg toward you, keeping the knee slightly bent.
Warm Up First: Spend 5 minutes marching in place or doing gentle arm circles to increase blood flow.
Control Is Key: Perform each movement slowly, focusing on muscle engagement rather than speed.
Listen to Your Body: Mild stretching discomfort is expected; sharp or shooting pain is not. Stop immediately if it occurs.
Maintain Good Posture: Keep your spine aligned and avoid letting your lower back collapse.
Consistency Over Intensity: Regular practice (3–5 times per week) yields better results than sporadic intense sessions.
When to Seek Professional Help
You should seek professional evaluation if your lower back pain shows any of the following warning signs:
Sharp, constant pain or pain that travels into your legs: This can indicate nerve involvement (such as sciatica) rather than simple muscle strain. When a disc presses on a spinal nerve, you may feel shooting pain, burning, or an electric‑shock sensation down your thigh, calf, or foot.
Numbness, tingling, or muscle weakness: These symptoms suggest that nerves supplying your legs or feet may be compromised. Left untreated, nerve compression can lead to permanent loss of feeling or strength.
Pain that lasts longer than four weeks despite regular exercise and home stretches: While mild back ache often improves with movement and rest, persistent pain signals that self‑care isn’t enough.
Pain that worsens at night or when you’re lying still: If simply changing position in bed doesn’t help—or if you wake with more intense pain—it may point to inflammation or a more serious spinal condition.
A physician or licensed physiotherapist can perform a detailed history and physical exam, and order tests such as X‑rays or MRI if needed. They’ll identify underlying issues like a herniated disc, spinal stenosis, or muscle imbalance and create a safe, targeted rehabilitation plan that may include hands-on treatment, specific exercises, and lifestyle advice to prevent further injury.
Q1. How long before I notice improvement? Most people feel reduced stiffness within 1–2 weeks of daily practice. Significant pain relief often appears in 4–6 weeks.
Q2. Can I combine these exercises with walking or swimming? Yes. Low‑impact activities like walking or gentle swimming complement these exercises by improving circulation and overall fitness.
Q3. Should I feel soreness after these exercises? Mild muscle soreness is normal, but sharp pain indicates an issue. Apply heat or ice and allow a rest day if soreness is intense.
Q4. Are these exercises safe during pregnancy? Some can be adapted with guidance. Always consult your obstetrician or physiotherapist for modifications safe for pregnancy.
Q5. What equipment do I need? No special equipment is required just a flat surface and, optionally, a yoga mat or small pillows for comfort.
Conclusion
Incorporating these thirteen physiotherapy exercises into your routine targets the muscles and joints essential for a healthy lower back. By strengthening core stabilizers, improving spinal mobility, and practicing safe movement patterns, you can reduce pain, increase function, and protect your spine over time. Remember to warm up, move with control, and seek professional advice if your symptoms persist. With dedication and proper technique, you’ll build resilience against future back issues and enjoy greater comfort in daily life.
For individuals needing personalized guidance or rehabilitation support, Trisha Neuro Development Clinic (TNDC) offers expert physiotherapy services tailored to your specific condition and recovery goals. Their experienced team focuses on evidence-based care to help you regain strength, mobility, and confidence in movement.